
Before we answer the two most important questions before us – why you should remove the skirting boards from your laminated floors, and obviously how to remove skirting boards with relative ease, in the cleanest way possible, we should answer one vital preliminary question. To successfully remove skirting board, it is always essential to have the right tools for the task, ensuring good preparation for a smooth removal process.
What is a Skirting Board
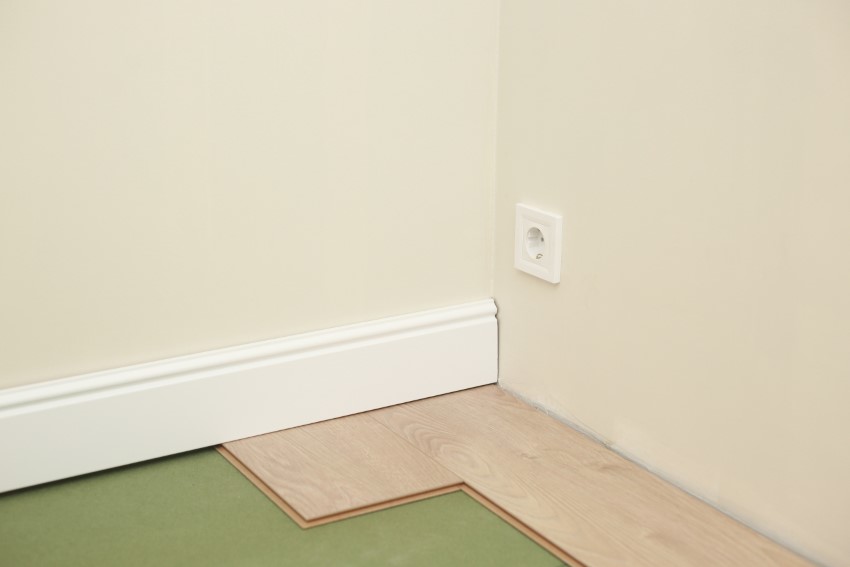
Also known as a baseboard across the Ocean, skirting boards are pieces of chipped timber or medium-density fiberboards, that are glued or molded together to create decorative patterns around the edges of laminated flooring. It is important to understand the existing skirting before removal to avoid damage to the wall and flooring. They create profiles that can vary depending on their height, thickness, and ford. Skirting boards can be either pre-colored by the manufacturer, or they can be hand-painted after installation to create a beautiful accent on your floors and the whole room they are installed.
Why Would You Need To Remove Skirting Boards?
There are two main reasons why you might like to remove your skirting boards. You can either be tired of looking at them and would like an update, or you need to replace your laminated floor. In both cases, you will need to be careful not to damage any of the material, and potentially hurt yourself in the process as well. Additionally, you might consider the potential to reuse skirting boards that are still in good condition. Removing older skirting boards is a standard practice for refreshing the way a floor looks, and the whole room in the process, without going through the painful and often costly process of replacing the entire floor. Skirting boards are frequently used to hide telephone cables and other wiring going around the base of the walls. Because of this, you may have to remove skirting boards if you need to replace or upgrade cables in your home as well.
Fortunately, you won’t need to go through a tough, time-consuming training on how to remove skirting boards easily, without making a mess in your home. All you have to do is get the right tools at hand and follow a few simple tips – described below. Proper removal techniques are crucial to minimize wall damage, which allows for a smoother installation process of the new skirting board, ultimately leading to a professional finish.
Should you remove skirting boards before laminate flooring?
Since in most cases you start looking at how to remove skirting boards when you plan on replacing your laminate flooring with either new laminate, hardwood floors, or wall-to-wall carpets, it is only logical to wonder which should come off first.
The simple answer is – the skirting board. These pieces of wood are often attached to the wall with stubborn nails that will make even a frail block of wood almost impossible to move away from the wall by force. If you try to pry off your laminate flooring before removing the skirting board, you will most likely break the wooden block and the laminate. Additionally, if you intend to keep your existing flooring, careful handling during the removal process is crucial to avoid damage. You can forget about getting the job of removing your skirting boards done cleanly, and you will exponentially increase the risk of injuring yourself. So, get first things done first – roll up your sleeves and remove all skirting boards around your floor first.
Can I remove skirting boards without damaging the wall?
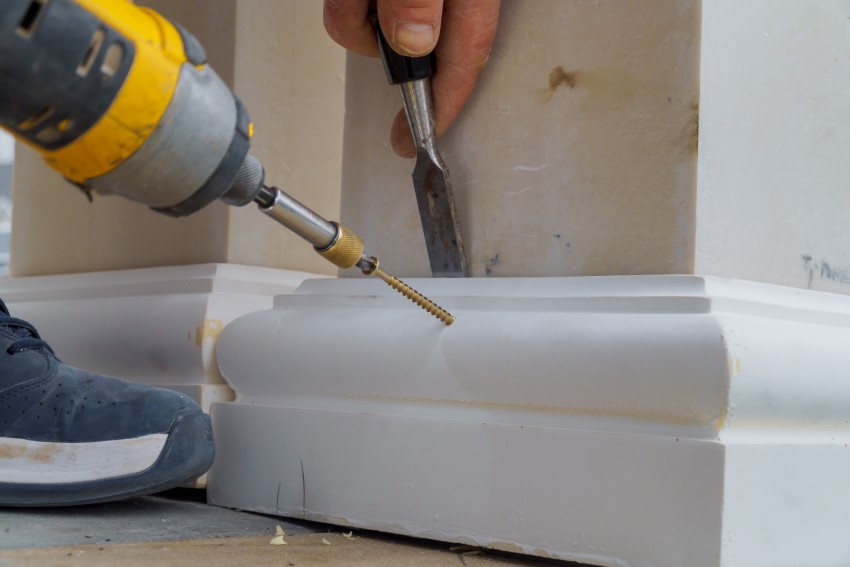
With the right tools at hand and some patience, you can remove the skirting board without causing much damage to your walls. It is important to use sharp tools and check for obstructions such as cables beforehand to avoid any hazards. If the skirting boards are glued to the wall, you can use a sharp object – even a flat screwdriver, a chisel, or a Stanley knife in most cases, to pry it gently and slowly from the wall. You can use a special cleaning product and a towel to remove any glue residue from the wall and repaint if necessary. If the wooden blocks are attached to the wood using nails, things become more complicated. After removing the nails using a claw hammer, you will have to fill in the holes. Alternatively, you can place the new skirting boards over the holes. Even if you don’t use them to attach the new wood to the wall, if the profile of the new skirting is equal to or greater than that of the old one, you should not have a problem.
Steps for removal of the skirting boards yourself
Get the tools you are going to need:
- Claw hammer
- Stanley knife
- Pliers
- Crowbar
- Chisel
- Some spare pieces of wood
Make sure to clean the area to eliminate hazards like chipped wood and debris.
Now you are prepared to remove your old skirting boards all by yourself, without the need to delegate this otherwise time-consuming task to a contractor that will charge you quite a bit for it. The simple steps you need to follow are:
- Make sure to disconnect and remove all wires, including telephone cable and sound system cable that are running behind your skirting boards before you start working. The pliers will come in handy here
- Loosen the caulking or sealant using the Stanley knife. Cover the flooring with a piece of soft plastic or fabric to protect it from damage.
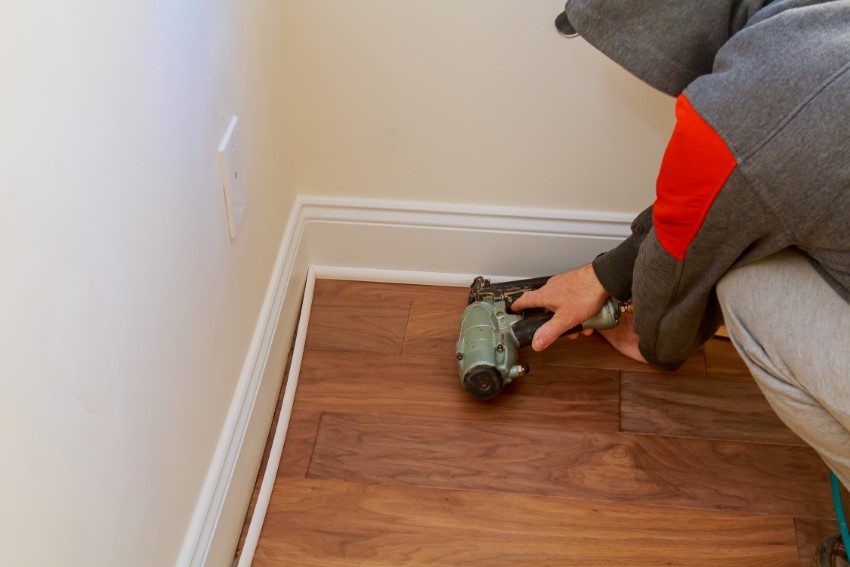
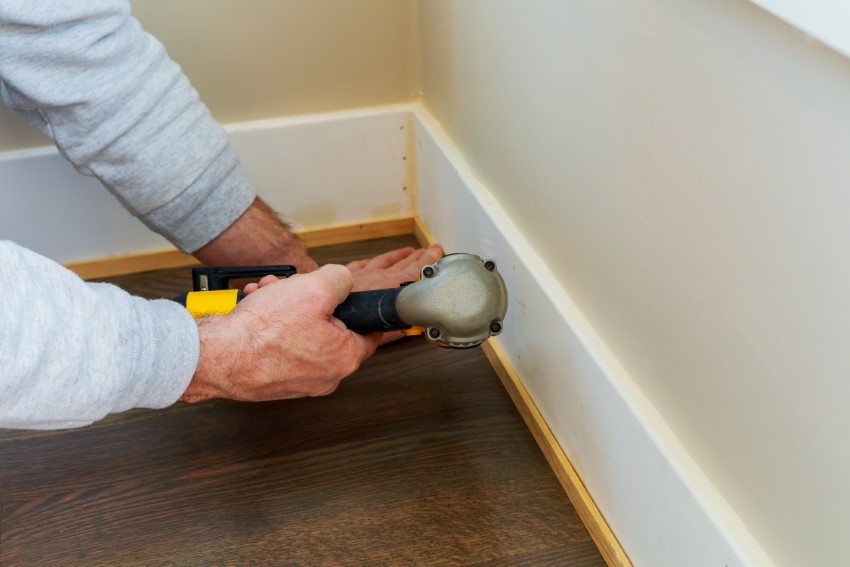
- Using either the chisel or the crowbar, pry the skirting away. Make sure to work slowly and gently to get the job done as cleanly as possible.
- Once you are finished prying away the baseboards from the wall, use the claw hammer or another similar tool to remove any remaining nails and/or pins that may still be hanging on the surface, cause leaving those is dangerous.
Having the right tools and methods is important for removing skirting boards without causing damage to the walls and flooring. What is more, even if doesn’t seem very intuitive, this is the faster way to get the job done.